You can save time importing data to Excel from a website to analyze it in a sheet, pivot report, or chart. The ancient method of manually copying and pasting information from a web is gone with the wind. Instead, connecting to the data source and refreshing it when changes are available sets the bar high for modern analytical tools. Thanks to Microsoft’s Data and Transform feature.
Import Web Data into Excel from the Supported Applications and Limitations
Supporting Applications: Excel 2010 or later, and Microsoft 365 Windows
Non-Supporting Application: The Data and Transform feature is not yet available to Excel Online. However, reading the information is allowed once it is loaded through the desktop app.
You can connect, load, transform, and combine. However, this article focuses on establishing a connection and loading a table.
Lastly, although the connection can view the website’s content, only data in a table is inserted. You can add single or multiple tables at a time.
How to Import Data into Microsoft Excel Desktop
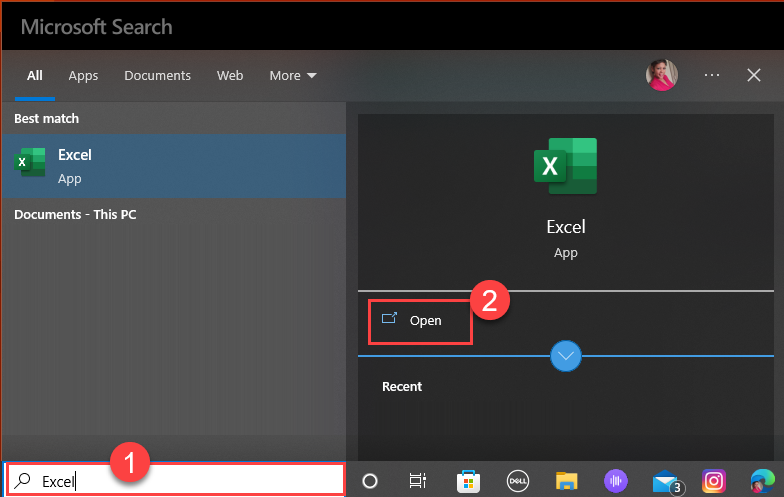
Launch the Excel Application from your desktop computer
Step 1: Establish a connection to the Data Source
There are two ways to pull data from your source.
Method 1: Get Data from the Ribbon
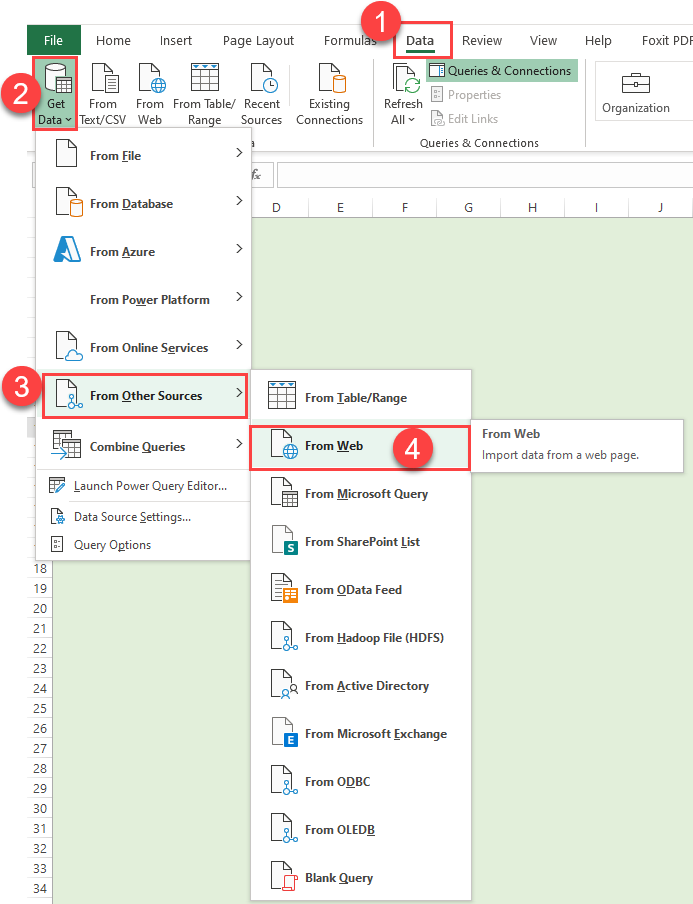
From the Ribbon, select Data, then Get Data.
From the drop-down menu, select From other sources, then From the Web.
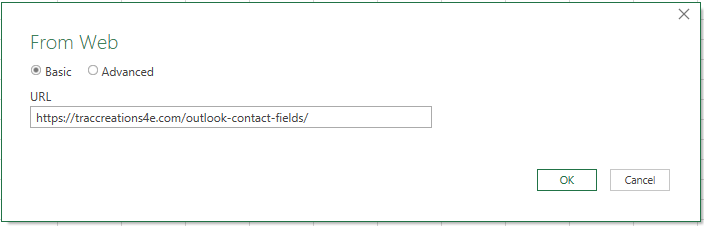
The URL popup window appears. Locate your website containing the tables you want to import and press Ctrl + C to copy. Then, return to Excel and press Ctrl + V to paste. Press Ok.
Method 2: From the Web icon
This method is the preferred choice since it has fewer clicks to get to the URL popup window.
From the Ribbon, select Data, then From the Web.
The URL popup window appears. Locate your website containing the tables you want to import and press Ctrl + C to copy. Then, return to Excel and press Ctrl + V to paste. Press Ok.
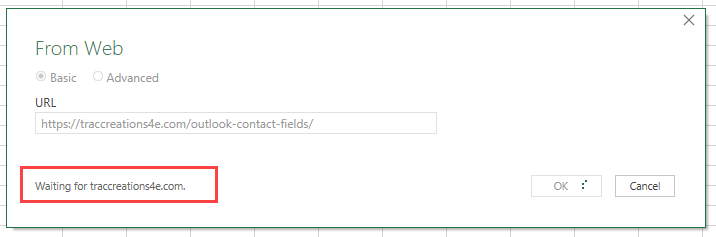
Note: Regardless of which method you use to establish a connection to the source, you will get a “Waiting for a website name” in the URL popup window. Depending on how much content you are generating, allow time to process. For any reason it times out, you can:
Close all unused browsers and applications
Clear your computer’s cache
Repeat the steps above
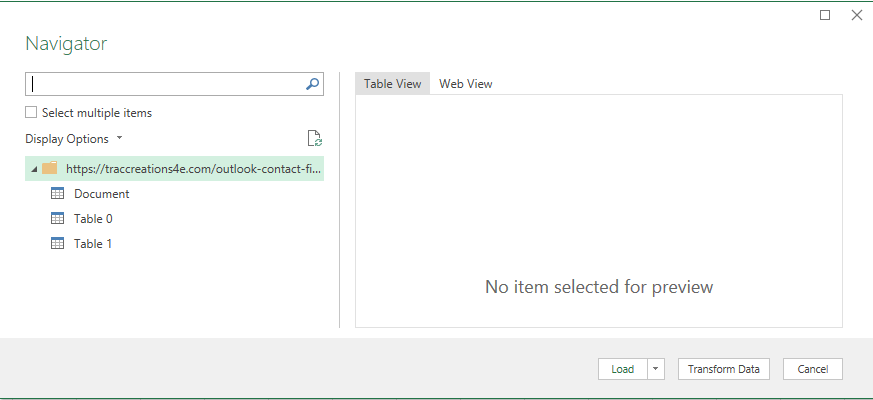
Step 2: Navigator Screen Settings
Now, the Navigator window appears on the screen.
Method 1: Import One Table into Excel using the Load Command
Click on Table 0, and the table content is displayed in the Preview window.
Optionally, you can click on the Table or Web view tabs. Watch the video.
Next, click on Load from the bottom of the screen, instantly adding the data to the current sheet when the table is selected.
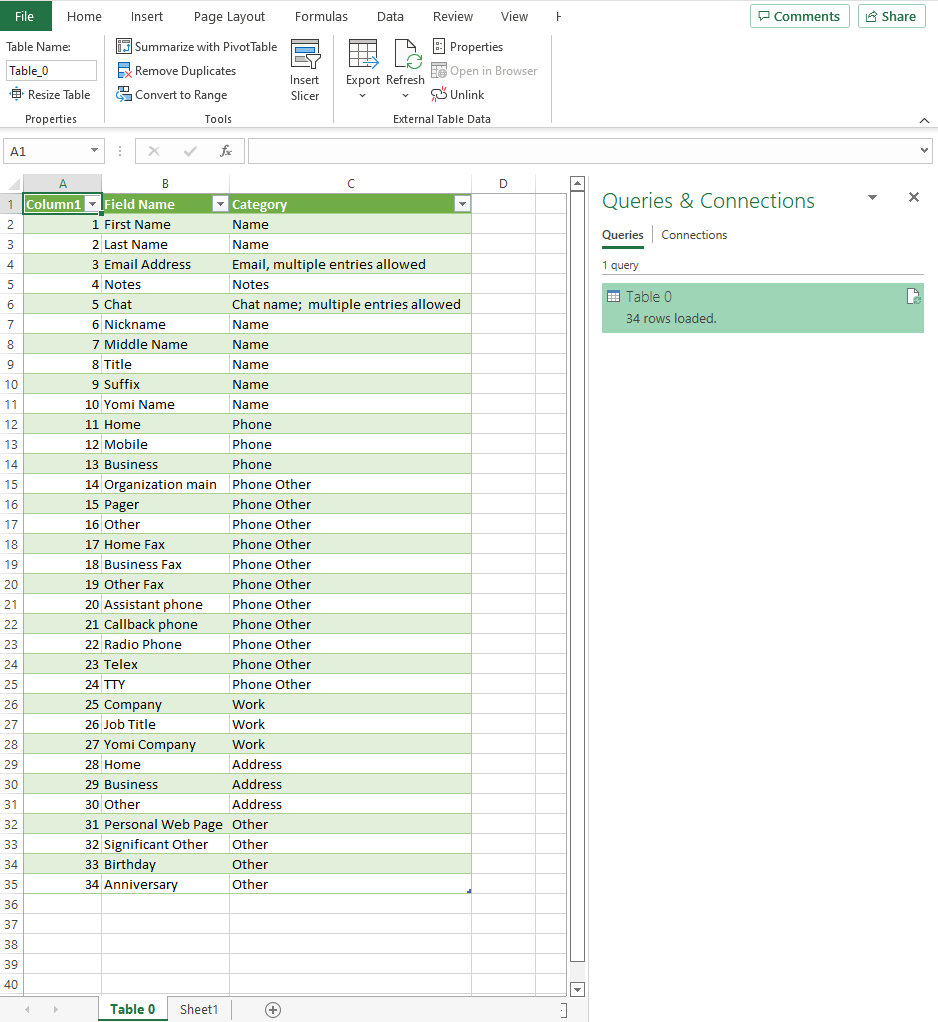
You have imported data into your spreadsheet. On the right of the screen, you see Queries & Connection. See the next section for details.
Method 2: Import Multiple Tables into Excel using the Load To Command
Add a checkmark by Select Multiple items. Notice the checkboxes will appear by all entities.
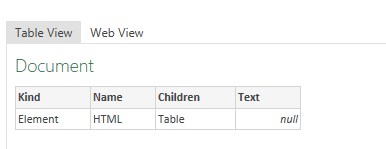
The first item is the Document. Do not select this item. The text is invalid. As shown in the image below, no content is added to this table.
Add a checkmark by the remaining tables.
From the bottom of the screen, click on Load, then Load To. (Should you select Load to download multiple tables, you will have to complete the Load To step manually for each table. Watch the video for more details.)
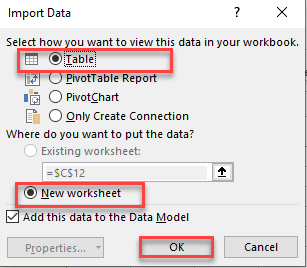
Next, the Load To command will trigger the Import Data Settings.
For this demonstration, you choose the Table option. However, pick the proper settings if you plan to use the data for a pivot table report or chart.
When multiple tables are imported, the Existing worksheet field will be greyed out, and the New worksheet is the only choice.
Press Ok.
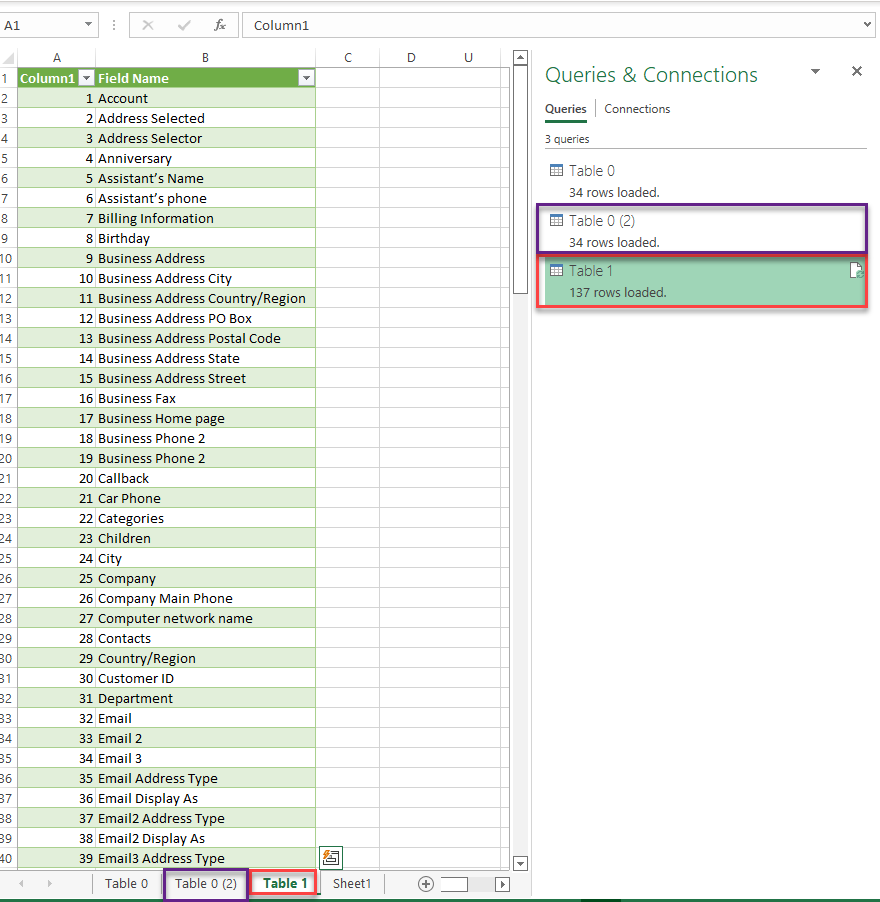
Like magic, all tables have been added to their sheet in Excel.
Step 3: Review Queries & Connection Pane
By default, the Queries tab is enabled.
It lists all tables and tells the number of rows inserted during the import.
The Paper Refreshicon updates content changes from the data source.
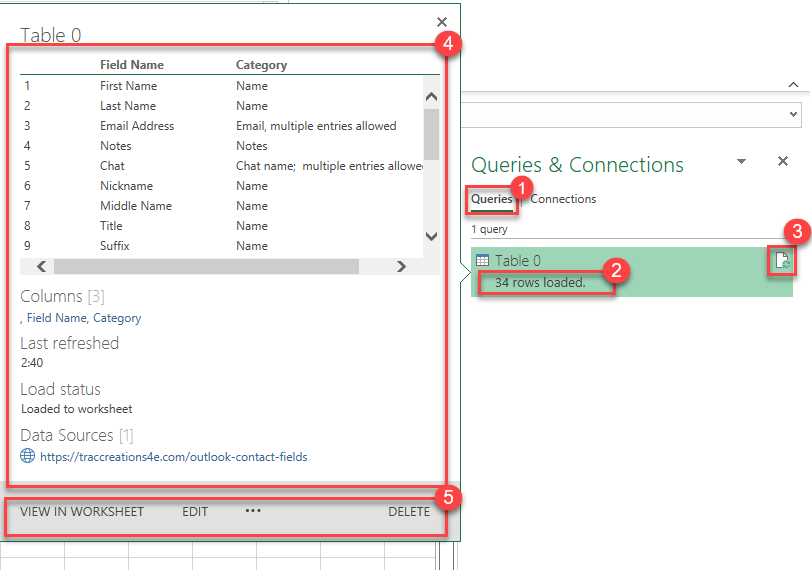
If you hover over a Table Name, a popup window displays the content, column names, last refreshed date and time, load status, and data source.
And in the grey area at the bottom of the window, you can view, edit and delete the data connection.
The 4E's Closing Remarks
Microsoft’s Data and Transform Data feature has a lot more to offer. In this case, I showed you how simple it is to pull table data from a website. Start gaining time back in your day with this nifty feature.
Leave a comment and share your thoughts about this feature.