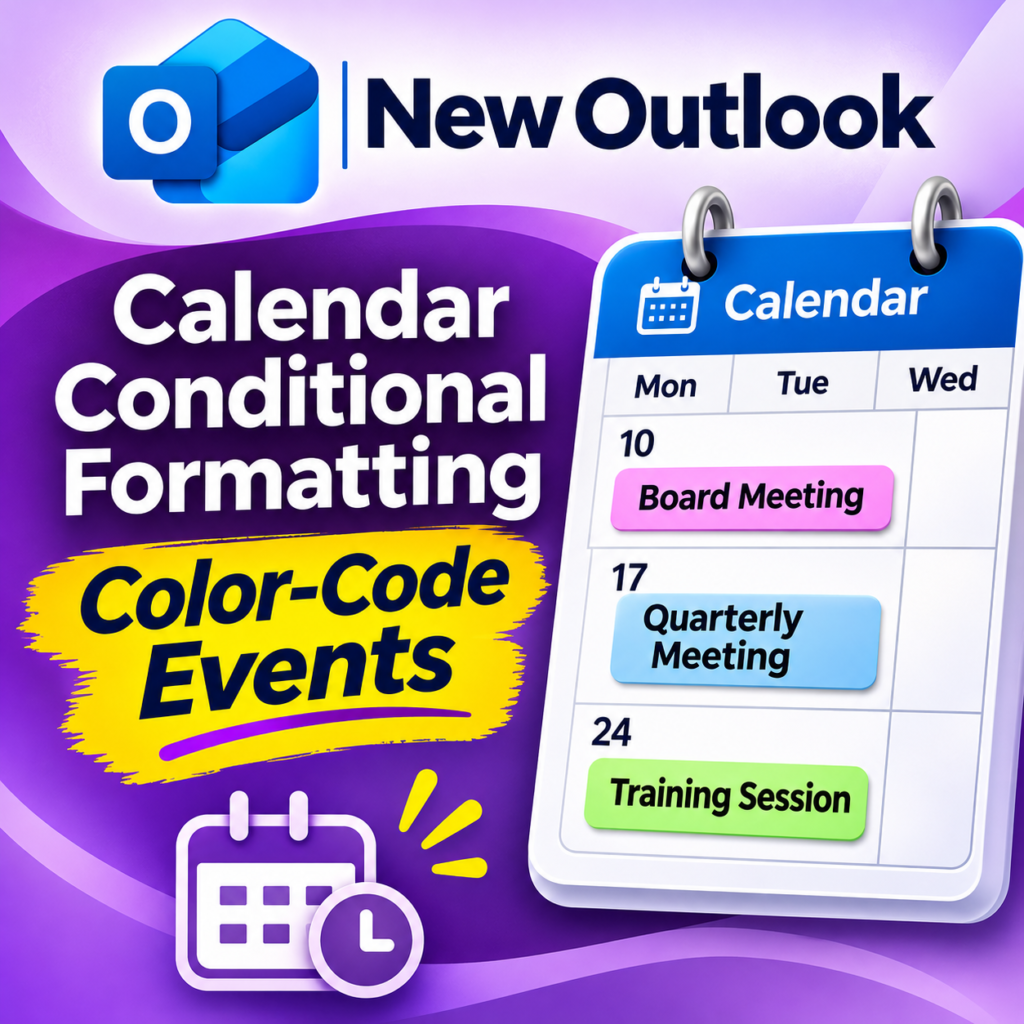
New Outlook Calendar Conditional Formatting helps you automatically color-code meetings and appointments that meet specific conditions.
Do you have a busy calendar filled with meetings, appointments, and events? Wouldn’t it be helpful if certain meetings automatically stood out without manually assigning colors?
That’s where Calendar Conditional Formatting comes in!
Instead of assigning Categories to individual events, you can create rules that automatically change their appearance based on information associated with the meeting or appointment.
Let’s explore how Calendar Conditional Formatting works, when to use it, and a few important things to consider.
What Is Calendar Conditional Formatting?
Calendar Conditional Formatting allows you to automatically highlight meetings and appointments based on specific conditions.
For example, you can create rules to highlight events based on:
Organizer: Identify meetings organized by a particular person.
Subject: Highlight calendar events containing specific keywords, such as Board Meeting or Quarterly Meeting.
Attachments: Identify calendar events that include attachments.
Once you create a Conditional Formatting rule, New Outlook automatically applies your selected color to calendar events that meet the conditions.
This makes it easier to recognize important meetings without manually changing their colors.
Watch my New Outlook Calendar Conditional Formatting demonstration to see how to create rules, highlight calendar events, and understand how Categories affect the displayed colors.
When Should You Use Calendar Conditional Formatting?
Consider using Calendar Conditional Formatting when you want important events to stand out automatically.
Here are a few examples:
Managers and Team Leaders: Highlight meetings organized by your manager or another team leader.
Administrative and Executive Assistants: Make meetings organized by specific people easier to identify on a busy calendar.
Board and Quarterly Meetings: Highlight meetings containing keywords such as Board Meeting or Quarterly Meeting in the subject.
Training and Professional Development: Identify training sessions or meetings that include attachments.
The goal is to make your calendar easier to review at a glance.
However, be selective. Too many colors can make it difficult to distinguish important events from everything else.
How to Create Calendar Conditional Formatting Rules
Let’s create a Calendar Conditional Formatting rule in New Outlook.
Open New Outlook.
Select Settings → Calendar → Conditional Formatting.
Select Add Rule.
Give your rule a descriptive name.
Choose the condition you want to use.
Select your preferred color.
Review your selections and select Save.
Once saved, New Outlook automatically applies your selected formatting to matching calendar events.
You can edit, disable, or delete rules as your scheduling needs change.
Tip: Start with one rule and review how the color appears on your calendar before creating additional rules.
Calendar Conditional Formatting: Important Considerations and Limitations
Before creating rules, consider a few things.
Feature Availability
Calendar Conditional Formatting is being introduced in New Outlook.
If you don’t see the feature in your Calendar settings, it may not be available to your account yet.
Microsoft tracks this feature under Microsoft 365 Roadmap ID 529849.
Choose Your Conditions Carefully
Use conditions that help you recognize important meetings.
For example, highlighting meetings organized by your manager may be helpful. However, if you create several rules using similar conditions, your calendar may become harder to read.
Start with one or two rules, then adjust them as needed.
Classic Outlook Compatibility
Classic Outlook also supports Calendar Conditional Formatting, but its configuration options differ from New Outlook.
Conditional Formatting rules created in Classic Outlook don’t automatically synchronize with New Outlook.
If you’re transitioning between the two applications, review your existing rules and recreate them as needed.
Calendar Conditional Formatting vs. Categories
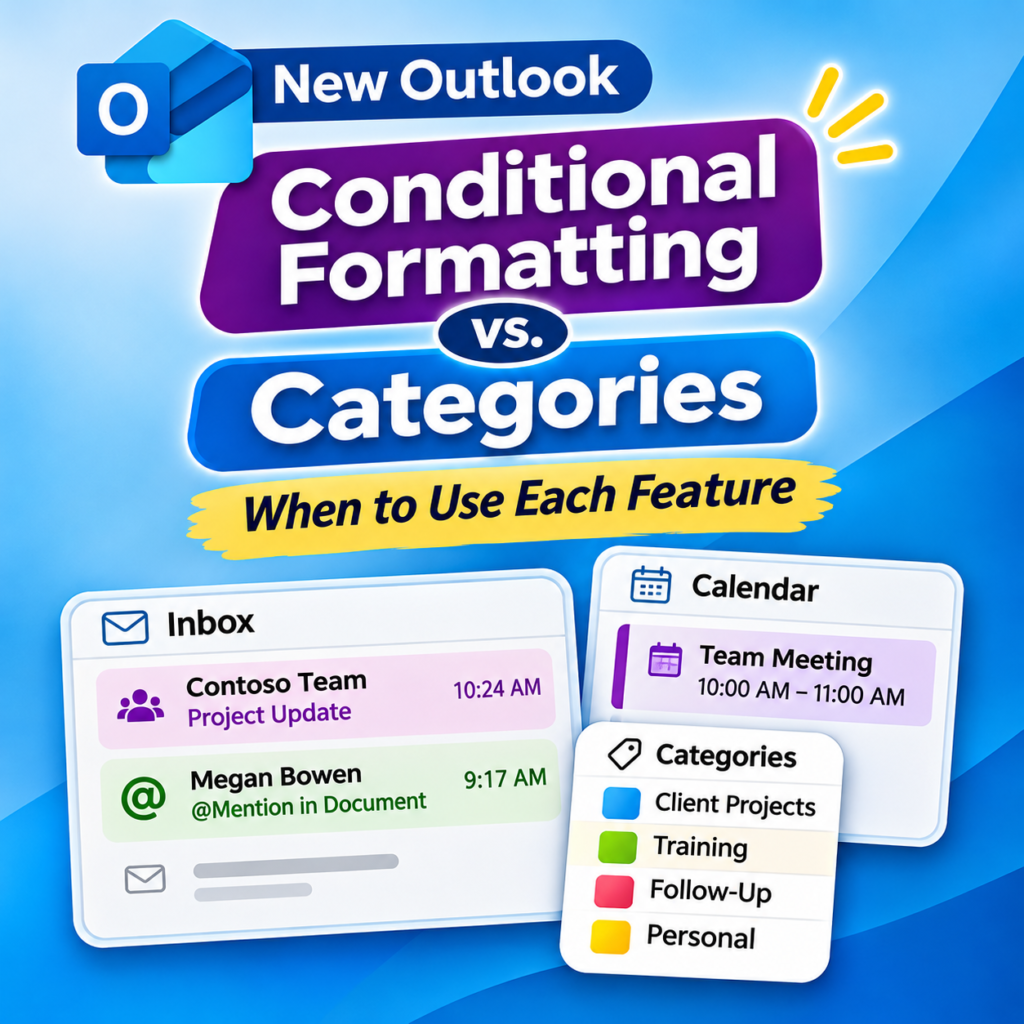
Calendar Conditional Formatting and Categories both allow you to color-code calendar events, but they serve different purposes.
Conditional Formatting automatically highlights events based on specific conditions.
Categories allow you to assign meaningful labels to meetings and appointments, helping you organize related activities.
For example, imagine you regularly attend meetings organized by your manager. You could create a Conditional Formatting rule to automatically highlight those meetings.
Important: When both a Category and Conditional Formatting apply to the same calendar event, the Category color takes precedence. If you remove the Category, the Conditional Formatting color appears automatically, provided the event meets the rule’s conditions. This behavior is demonstrated in the video.
So, which feature should you use?
For a more detailed comparison, read my article: New Outlook: Conditional Formatting vs. Categories.
For a more detailed comparison, read my article: New Outlook: Conditional Formatting vs. Categories.

In Summary
New Outlook Calendar Conditional Formatting provides another way to manage your schedule visually.
Instead of manually color-coding every meeting, you can create rules that automatically highlight events based on specific conditions.
It’s particularly helpful when managing a busy calendar with meetings organized by different people or containing important subject keywords.
However, Conditional Formatting doesn’t replace Categories. Both features have their advantages, depending on what you want to accomplish.
Start with one rule, choose a color that stands out, and experiment with the settings that make your calendar easier to manage.
Now, go and work your magic!