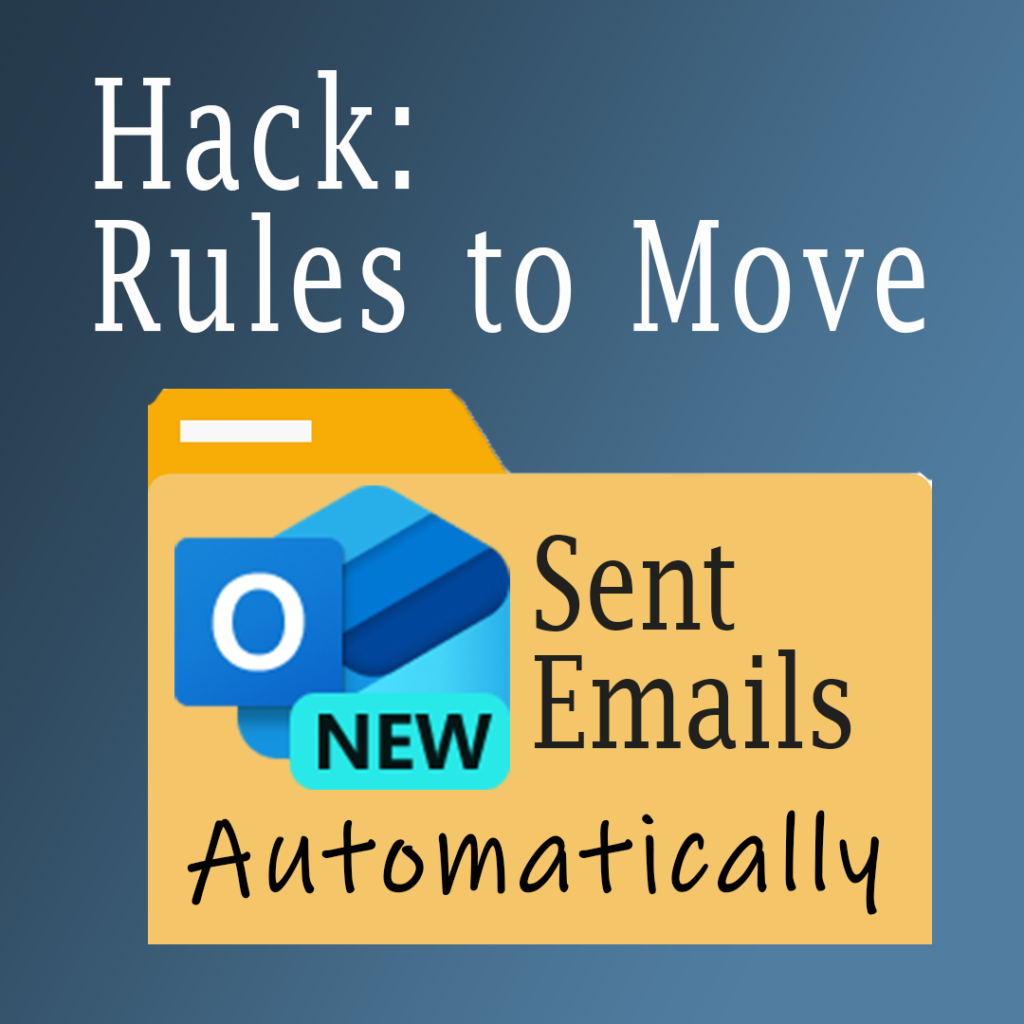
New Outlook removed Sent Email Rules. Use this simple workaround to auto-move sent messages into folders and stay organized.
Do you wish you could easily move your sent emails to a designated folder in Microsoft New Outlook? Many users have faced this issue and have been unable to create rules for sent emails. But don’t worry, I have a simple workaround that will help you organize your sent emails automatically using rules, hashtags, and signature lines.
The Problem: Missing Sent Email Rules in New Outlook
In the New Outlook, you can only create rules for received emails. This limitation means you must manually move your sent emails to a folder, which can be time-consuming and frustrating. For more information on New Outlook rules limitation, see this blog post that was written in May 2023, titled New Outlook Limitations: Outgoing Message Rules.
At the time of writing this blog post, Microsoft has not announced when the Sent Rules functionality will become available in New Outlook. So, this workaround solution will hold you over until then.
The Solution: A Clever Hack
I discovered a clever hack that lets you automatically move your sent emails to a folder of your choice. By using a unique hashtag in your emails and setting up specific rules, you can streamline your email organization process. Here’s how you can do it.
How to Move Sent Emails to a Folder in New Outlook
Step 1: Create a Rule and the Conditions for Sent Emails
- Open the Rules Menu: Go to the Home tab, click on the “Rules” dropdown menu, and select “Manage Rules.” Alternatively, you can navigate through the ribbon: View | View All Settings | Mail | Rules.
- Add a New Rule: Click on “Add a New Rule.”
- Name Your Rule: Give your rule a descriptive name, like “Move Sent ProjectX Emails.”
- Set Conditions: Add the following conditions:
- From: Type your own email address.
- Cc: Add your email address again. This step is required because New Outlook rules apply only to incoming messages.
- Keywords: Under “Message body includes,” add your unique hashtag (#demoProjectX). This acts as the trigger to take action.
Step 2: Specify the Action for the Rule
- Choose an Action: Select “Move to Folder” and choose the folder where you want your sent emails to go.
- Stop Processing More Rules: Make sure to check this option to ensure your rule works correctly.
- Save the Rule: Click “Save.”
Step 3: Prepare Your Email
- Open a New Email: Start by composing a new email.
- Add a Unique Hashtag: Include a unique hashtag as part of your signature line in the body of your email. This hashtag will act as a trigger for your rule. For example, use #demoProjectX.
- Change Font Color (Optional): To keep the hashtag hidden but active, match its font color to the background, making it invisible to the eye but still readable by the rule.
- Create a Signature Profile (Optional): Avoid forgetting or mistyping the hashtag by adding it to a dedicated signature profile for those emails.
Step 4: Confirm the Rule is Working Properly
- Check Your Folder: After sending, check the folder you specified. Your sent email should be there.
Bonus Tip: Manage Your Hashtags
- Use ‘My Templates’ in New Outlook: Create a template to keep track of all your hashtags. This will help you remember which hashtags you’ve used and keep your rules organized.
- Create a New Template: Open a blank email, and click on “My Templates,” under the Message Tab in the ribbon. The My Template pane opens and click on the +Template icon. Give your template a name. For example, Hashtag List. List all your hashtags here for easy access.
Work Your Magic
With this simple hack, you can save time and effort by automatically moving your sent emails to a folder in New Outlook. By using unique hashtags and setting up specific rules, you can keep your email organized without the hassle of manual sorting. Give it a try and streamline your email workflow today!