Are you tired of your OneDrive being a chaotic mess? Files scattered everywhere, with no clue where they came from or how to find them? Don’t worry! This blog post will uncover the secrets to tame your unruly OneDrive and regain control over your files. Whether you’re a student, a professional, or simply someone who loves being organized, these tips and tricks will transform your OneDrive experience from overwhelming to efficient. Let’s dive in!
You can watch the video that contains a presentation, graphics, and demonstration. It will enhance the user experience.
What is OneDrive?
Imagine having all your work files accessible from anywhere, on any device, and easily shareable with others. That’s precisely what OneDrive offers – your personal cloud storage for work documents. Previously, we saved files on our local drives, making sharing a cumbersome task. But now, with OneDrive, you can collaborate seamlessly with colleagues, giving them edit or view access to specific files. Microsoft handles the storage locations, but we’ll reveal more about that later.
When to Use
OneDrive is a powerful cloud-based storage service provided by Microsoft, and knowing when to utilize it will help you optimize your workflow and collaboration with others. Let’s elaborate on when and how to use OneDrive:
- Short-term Projects: OneDrive is an excellent choice for short-term projects. When you’re working on a project that has a defined end date and involves a limited number of collaborators, OneDrive allows you to share files seamlessly and keep everything organized in one place.
- Collaborating with Others: OneDrive makes collaboration a breeze. If you’re working on a project with team members located remotely or in different time zones, OneDrive ensures everyone has access to the latest version of files, fostering efficient teamwork.
- Sharing with Specific Individuals: When you need to share files with specific individuals or external partners, OneDrive allows you to control access levels. You can grant edit or view-only permissions, ensuring your data remains secure.
- Mobility and Access: OneDrive’s cloud-based nature means you can access your files from any device with an internet connection. This flexibility is ideal for individuals who need to work on the go or switch between different devices.
Where Are OneDrive Files Stored?
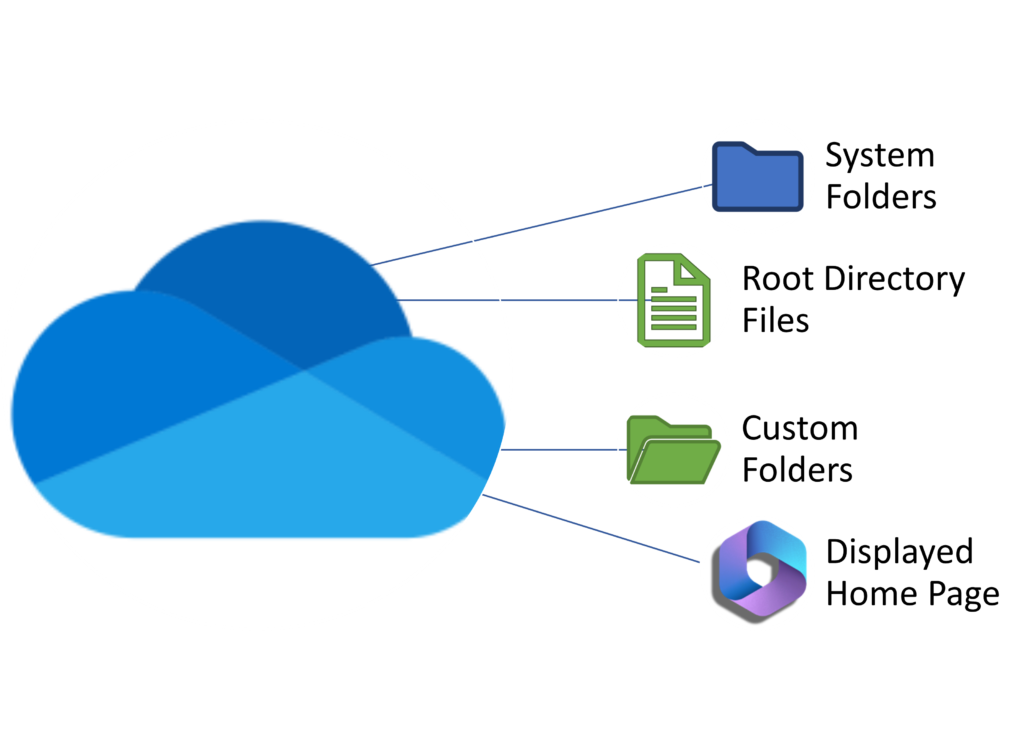
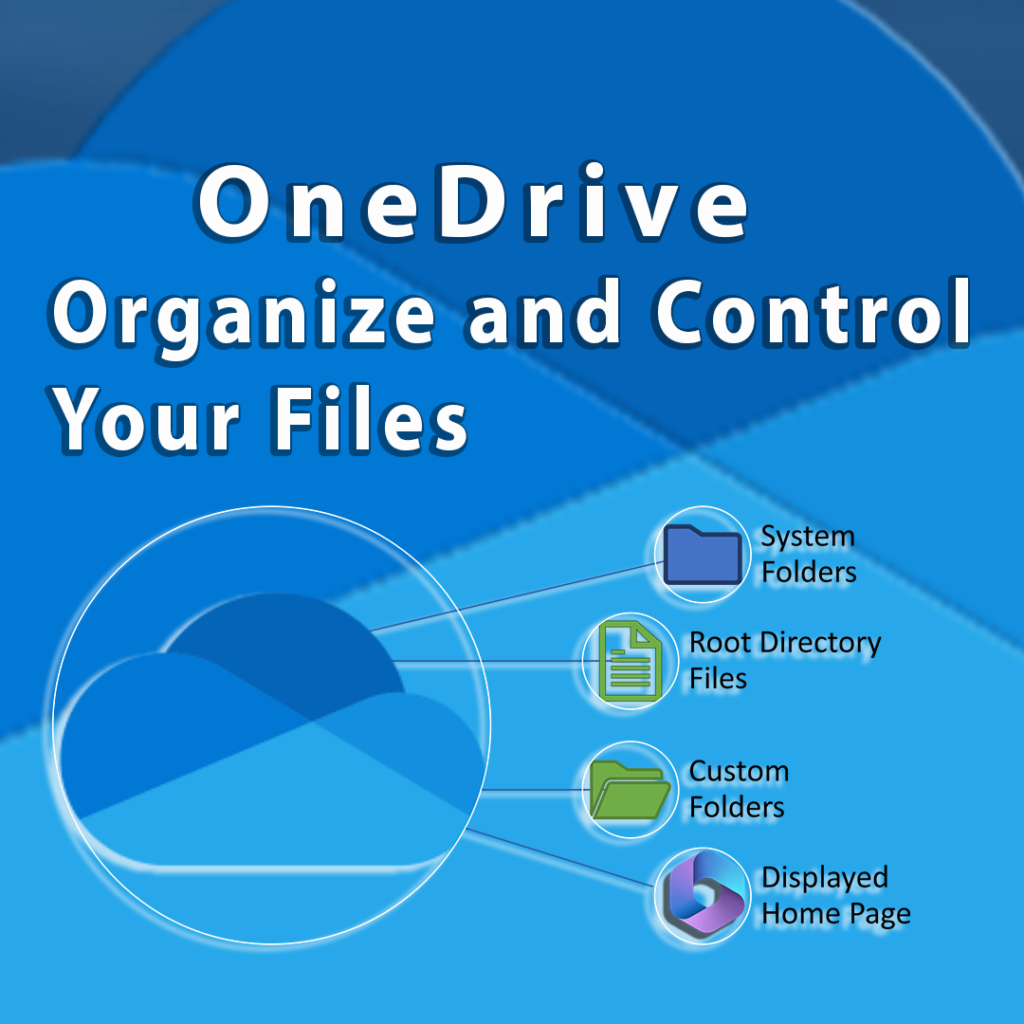
Let’s get down to the business – where exactly are your OneDrive files stored? OneDrive resembles the local drive’s folder structure, but Microsoft introduces some system folders. Some files are stored directly in the root directory, while others are custom folders you create. Efficient file management is crucial for a smooth workflow, so let’s explore each of these storage locations:

- Sharing Column: The “Sharing” column in OneDrive indicates if a folder or item is private (only accessible to you) or shared (accessible to others). Keep an eye on this column to manage your shared files effectively. If you are unsure who you have shared files with or want to change the share status, click on the share icon by the file.
- System Folders: Microsoft creates system folders to organize your content better. These include folders for meetings, transcript recordings, OneNote notebooks, and Teams-related items.
- Microsoft Teams Chat Files: This system folder stores files generated in Microsoft Teams chats. However, sometimes the same files might appear twice, causing confusion. For example, you might find three files listed, but they are actually duplicates of the same three files you see in the Microsoft Teams Chat Files folder.
- Root Directory: Files not saved in a folder or Teams channel end up cluttering the root directory. This can be a time-waster and disrupt your workflow. To avoid this, make use of custom folders.
- Custom Folders: Custom folders are user-created directories in OneDrive that allow individuals to organize and categorize their files according to their specific needs, preferences, and sharing.
- Managing Files on the Microsoft 365 Home Page: To avoid getting overwhelmed by the plethora of files from OneDrive, Teams, and SharePoint on the Microsoft 365 home page, use the filtering option. Click on the plus sign and select “owned by your name” to see only the files that belong to you
Additional File Locations
- Shared/Favorites Folders: These folders are accessible from the left navigation and filters on existing documents from OneDrives My Files.
- Recycle Bin: Deleted files stay in the recycle bin for 30 days (for personal accounts) or 93 days (for work/school accounts). If you delete a file again before the 93-day limit, it moves to the second stage recycle bin (SharePoint site collection).
Best Practices for Organizing Your OneDrive Files
Now that you know where your files are stored let’s explore some best practices to keep your OneDrive well-organized and efficient:
- Save Files to a Designated location on OneDrive: Saving your files in the right folder is crucial for keeping your OneDrive organized and efficient. When you create new documents or want to save existing files, it’s essential to specify the location within OneDrive. Here’s how you can do it directly from the Microsoft 365 Home Page.
- Create Custom Folders: Organize your files with custom folders for different projects or categories. Pro Tip: A naming convention can help visually identify active, inactive, and system folders at a glance. For instance, prefix “00” for active and “Z” for inactive folders. Now the remaining folders are Microsoft-generated folders.
- Filter and Search Smartly: Use filters and search functionalities to narrow down your search results and quickly find what you need. You can filter by “owned by you” to see files you own, avoiding the overwhelming clutter of shared files.
- Save Team-Related Content in SharePoint: For smoother collaboration within teams, save your team-related content in SharePoint. This reduces the need for manual sharing with individual team members.
Conclusion: With these tips and tricks, your OneDrive experience will become a model of organization and efficiency. Now, go forth and master OneDrive like a pro! If you enjoyed these tips, don’t forget to add a comment. Happy organizing!


