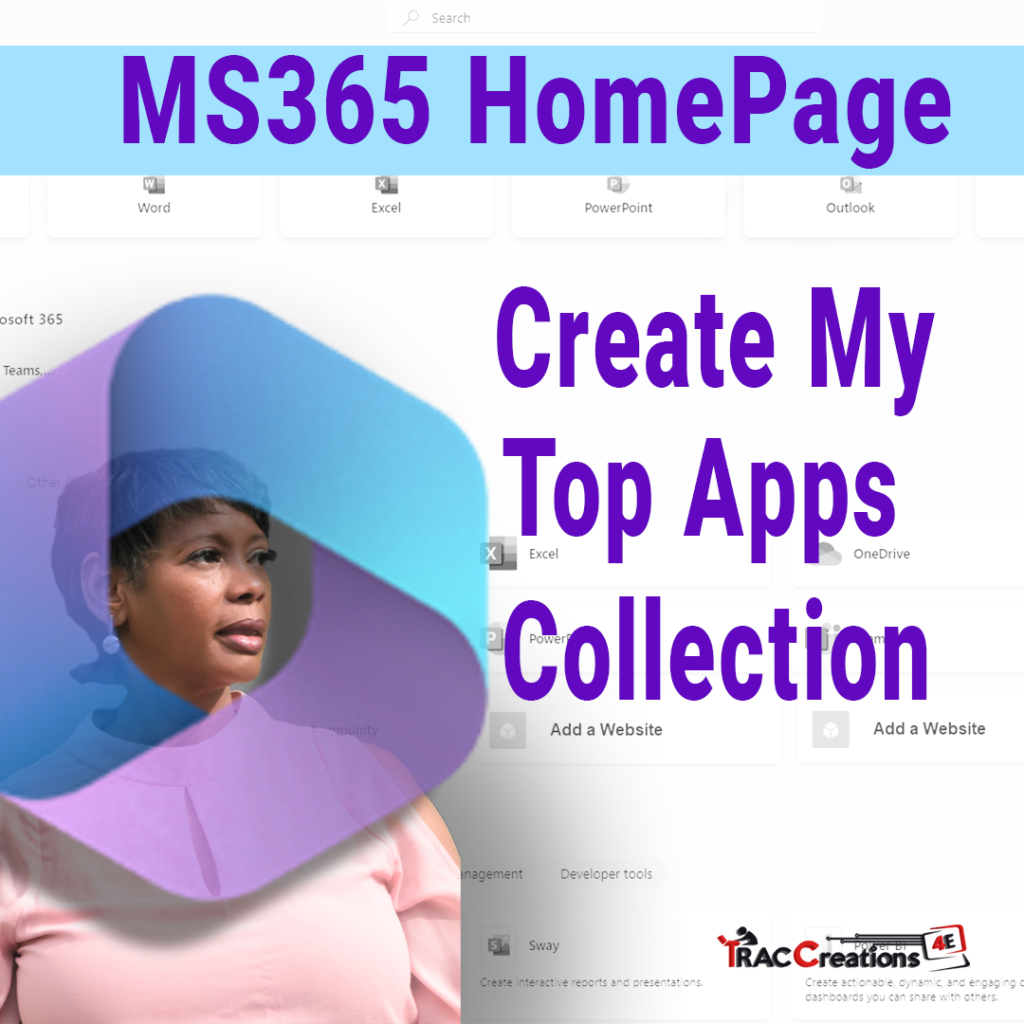
In this post, we will show you how to stop scrolling and start creating your very own app collection on Microsoft 365 homepage. You’ll learn how to customize your app collection to suit your unique needs, making it easier to access the apps you use most frequently. We’ll guide you through the simple steps, from selecting your preferred apps to creating and managing your own personalized collection.
In addition to apps, you can create a collection of external sites. The sites are not posted on the home page unless your IT Department approves the site. Instead, the site collections are available in the MyApps Portal, and I will show you how to create and manage this collection.
You’ll discover how to make your work and personal life more efficient and productive by having all your essential apps and websites in one convenient location.
You can also watch the video which includes a bonus tip.
MyApps Portal Overview
The MyApps Portal stores all the enterprise apps, custom apps, and sites. “Enterprises Apps” means the apps that Microsoft made and are already in their Microsoft 365 product line. “Custom Apps” are different apps your company said were okay and added to the Active Directory. When you add an app to the Active Directory, it will show up on the homepage and the list of apps that only some people can use.
“Sites Apps” are links to websites. Like Custom Apps, IT Administrative must say it’s okay before adding the website link to the Active Directory. It might not be allowed if only a few people need to use a website. But don’t worry! Microsoft made something called “MyApps Portal,” which has all the apps and websites you can use.
Access MyApps Portal
You must navigate to the MyApps Portal to create and manage your apps and site collections. There are three methods to get to the portal. You can create, edit, reorder, and delete apps and sites from the My Apps portal.
Method 1:
- Select your Profile Picture | View Account | From the My Account drop-down menu, select My Apps.
Method 2:
- From the Microsoft 365 homepage, click on the Apps Icon in the left navigation.
- Next to any apps collections, click on the three dots and select Manage My Apps
Method 3
- This method requires information from your IT Administrator.
- https://myapplications.microsoft.com?tenantId=your_domain_name
- https://myapplications.microsoft.com?tenant=your_tenant_ID
Manage Collections Menu
- Select Manage Collections. You can:
- Create a Collection from this pane.
- Reorder the Collections the way they will appear on your homepage using the drag-and-drop function.
- And Edit, Reorder Items within a Collection, Hide, and Delete by clicking the three vertical dots next to any collection.
Create an App Collection
- Select Create Collection | + Add apps
- Choose the apps you want to add, click on Add
- You can reorder the apps within this collection using the drag-and-drop function.
- Select Create Collection
Add Sites to a Collection
Two methods exist to add an internal or external site to a collection.
Method 1: From the top menu, click on Add Apps icon.
Method 2: Click on Settings by any collection and click on Edit from the drop-down menu.
Complete the following steps.
- From the drop-down, select Add a Site.
- Enter the Name and URL of the Site
- Select the collection you want to add to.
- You can reorder the sites within this collection using the drag-and-drop function.
- Note: A generic logo is displayed if Microsoft does not recognize the branded logo.
Edit or Delete an App Collection
- Method 1: Click on Settings by any collection and click on Edit or Delete from the drop-down menu.
- Method 2: Go to the Manage Collection Menu.
Reorder a Collection Menu
- Select Manage Collections
- Use the drag-and-drop function to reorder your apps
- Note: You can click on the three vertical dots by any collection and manual move up or down